When the camping season comes to a close, RV and trailer owners have their work cut out for them. Winterizing your camper is a bit of a process, but it’s crucial to keep it in good shape and completely functional for the next season. Being proactive in the fall/winter will ensure you’re not finding any unpleasant surprises when spring comes around. Here are ten essential steps to set yourself up for success when you winterize your trailer or RV this fall.
Drain & Flush it Out
You’ll want to start by draining all of the water out of your system. This is critical to avoid frozen pipes in the winter. You’ll begin by ensuring the water heater is off and drain and flush all of the lines. You will then fill the system with antifreeze. You don’t want antifreeze to get into your water heater, so getting a water heater bypass kit will be helpful.
Open All Faucets
You truly don’t want a drop of water left in your trailer. So, you’ll want to open all the faucets and valves on the outside of the unit and all the taps on the inside, such as the sinks and showers. You’ll want to ensure your antifreeze reaches all of the faucets, so you should double-check that it’s travelled everywhere it needs to go.
Check For Leaks
Next, you’ll want to make sure your RV is sealed tight and protected from the elements and rodents. Check under your camper, check in drawers and cupboards, and check in the cab of the vehicle and around the wheel wells and windows. If you come across any gaps or cracks, you’ll want to ensure you fill those with silicone or something of that nature to keep them sealed up.
Protect From The Elements
To further protect the outside of your RV from the elements, you’ll want to apply a coat of wax or another protectant to the entire exterior. You won’t want to do this until after you’ve sealed any cracks and given the RV an excellent clean.
Look Out For Your Awning
Awnings tend to get wet when camping, so you’ll want to be mindful of this, so they don’t go mouldy during the off-season. You’ll want to take your awning out, thoroughly clean it, and let it dry completely before you put it away for the winter.
Unhook Your Propane
You’ll want to remove your propane tanks for the winter and store them somewhere well-ventilated. You’ll also want to ensure your propane supply valves are off and any places that might cause a propane smell are covered. You can find caps at a hardware store.
Winterize Your Batteries & Generators
Every RV is different, so check your manual to determine if your generator and/or batteries are best left installed or removed for the winter. If your batteries are being left in, you may want to run them throughout the winter to ensure they don’t die from the cold and lack of use.
Service Your Locks & Hinges
You’ll want to lubricate your locks and hinges before storing your camper for the winter. They risk jamming, rusting, or breaking if you leave them until the spring. If anything needs servicing beyond lubrication, you may want to do this before spring rolls around, so you don’t find yourself locked out and beyond repair.
Do A Big Clean
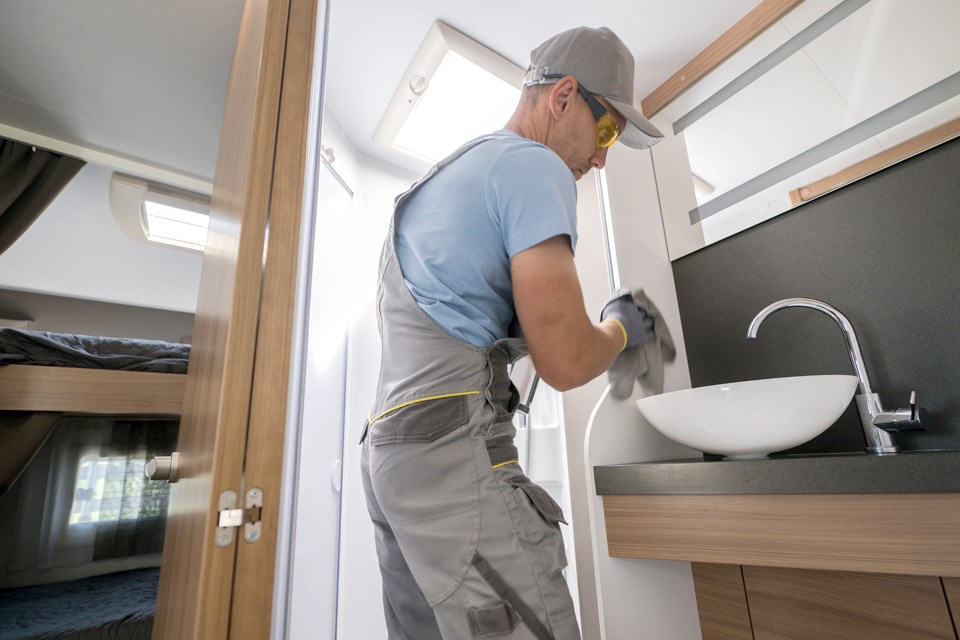
You’ll want your camper to be spick and span for many reasons. First, to avoid pests. You can attract mice if you leave food products or beauty products that smell like food. Or, if you leave clothing, bedding, paper, or other things that mice may like to use as nests, you will run the risk of them getting ruined and mice making a home for the winter in your camper. Be sure everything is as clean as can be. Beyond the pests, this helps ensure nothing spills or breaks or gets ruined throughout the winter. You also don’t want to deal with moisture or dust that’s been sitting for months and doing permanent damage.
Cover It Up
Last, you might want a tarp or cover to protect your RV further. You may even want to get covers specifically for your tires. Be mindful of your environment and act accordingly.
This story is brought to you by Great West Media Content Studio. It is not written by and does not necessarily reflect the views of the editorial staff.


